Snipping tool to crop print screen
When working with different applications or the Internet we sometimes need to take a screenshot or cutout window that appears. Such image we then save as picture file, send through an e-mail or put it into the document. Users often use time-taking ways eg. press Prt Sc (PrintScreen), insert into the Paint, subsequent crop, and then save it as an image. To do all these steps at once we can use a simple application called Snipping Tool, which is integrated part of Windows since version 7. Read the following instructions on how to use this tool effectively. If this guide has helped you, become a fan on Facebook and recommend this site to your friends, it can be useful for them too.
Snipping Tool
Just open the Start menu (Windows 7) or an interface Metro (Windows 8+) and search for a program Snipping Tool.

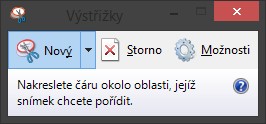
Selecting a New option, you can choose the type of a crop – free shape, a rectangular cutout entire application window or full screen. Then it activates the screen window that is currently active on your desktop and you can drag to make a cut.

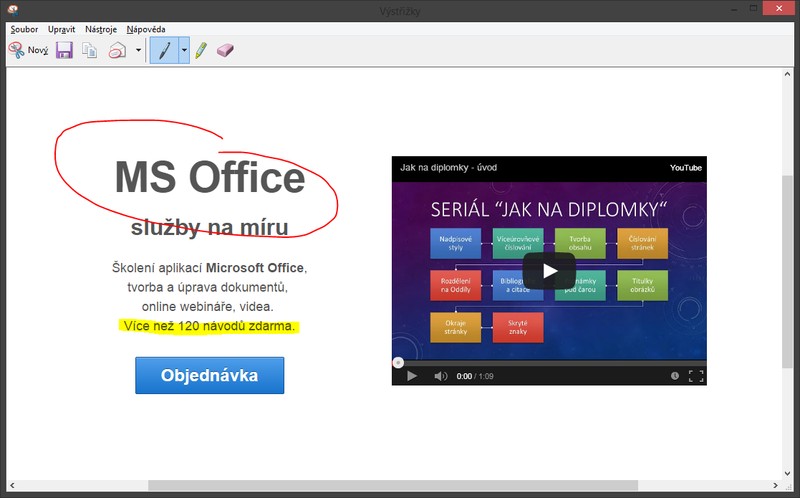
After creating of crop image it opens in the editing window. Use the upper icons to add highlighting lines to an image using pen or highlighters. You can also delete it with Eraser button.
Adjusted image can be saved as an image file (.png, .jpg, .gif) or sent with new e-mail using upper buttons.
To insert screenshot directly into document see tutorial Insert screenshot.


2 komentáře
Nevím jak nainstalovat výstřižky,můžete poradit?
Dobrý den, je součástí Windows. https://support.microsoft.com/cs-cz/help/13776/windows-10-use-snipping-tool-to-capture-screenshots