Sharing contacts in Outlook
We use the Address book in Outlook to organize our contacts. What to do if we want to send the contact information to other people in our Address book, or even a group of contacts to share with colleagues? In this article you will find answers to both questions. You will learn even how to ensure that you and colleagues have shared contact list up to date. If this guide has helped you, become a fan on Facebook and recommend this site to your friends, it can be useful for them too.
Sending a contact
The basic option to share a contact information with other user is to send him it with a message. But there is no need to manually write data, just send a record from your persnoal contacts as an attachment. Send the contact as either an item from your contacts, or you attach a business card (.vcf file) that contains all the information. This recipient can easily save this contact to his address book. The procedure is described for version 2013:
- Go to section People (Contacts).
- Search for desired contact in your address book. If you do not have it, you can create new one (New contact).
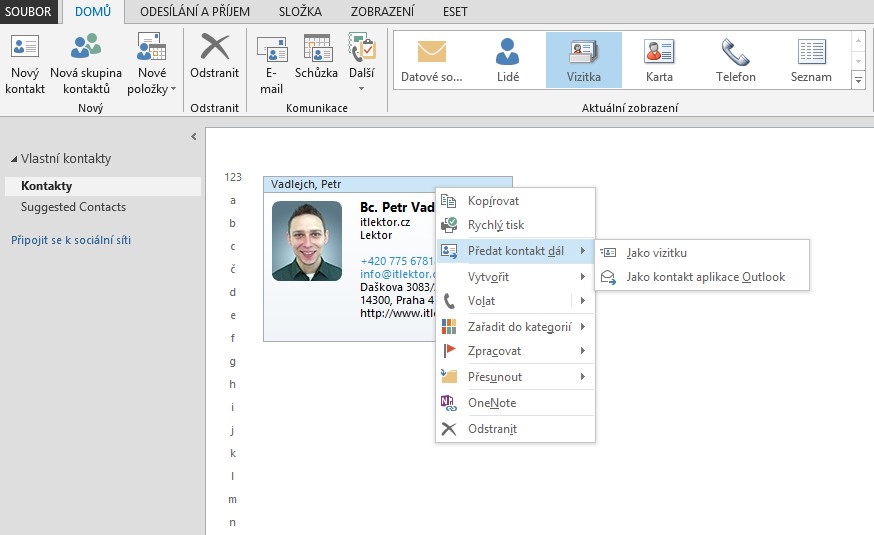
- Right click on selected contact and select Forward.
- You cas set as a business card or as outlook item.
- A new e-mail message creates and attachment with the contact is added, then you can continue entering the recipient of the mail message and send it.
- The recipient receives the message and after opening the attachment (attached contact) he can save it into his address book.
Sharing contacts or Distribution list
To share a contact or group of contacts with colleagues in the company and to have always the same and the actual data, you must use a Microsoft Exchange server. Distribution list (group of contacts) and individual contacts valid for the entire organization sets the administrator. However, you can also create individual contacts and group them separately by each user and share it with others. While sharing you can choose whether recipients of shared contacts will be able to change or add information, or just use it. As the founder of a shared contact, follow these steps:
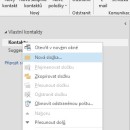
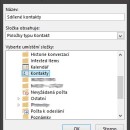
- Click on the navigation section People on your Contacts folder with right mouse button and create a new folder (see Figure Založení složky).
- To this new Contacts folder, drag existing contacts or create new ones, or here create a new contact group (distribution list).
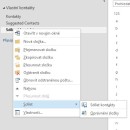
- After saving all your contacts display the menu on the newly created folder and select Share > Share contacts (see Figure Sdílení kontaktu).
- A new e-mail message appears where you enter all the recipients of these contacts, and you can check whether they will be able to add shared contacts, modify and delete them. If some of them should have some rights and some not, it is necessary to perform this procedure for both cases separately (see Figure Odeslání kontaktu).
- After sending the message recipient receives it and can add the shared contact to his contacts. After that, according to the set rights he can modify or simply use the shared contacts.
- To change the rights of individual users you can click on shared contact folder again, click the right mouse button and select Share > Folder permissions.


Zanechat komentář